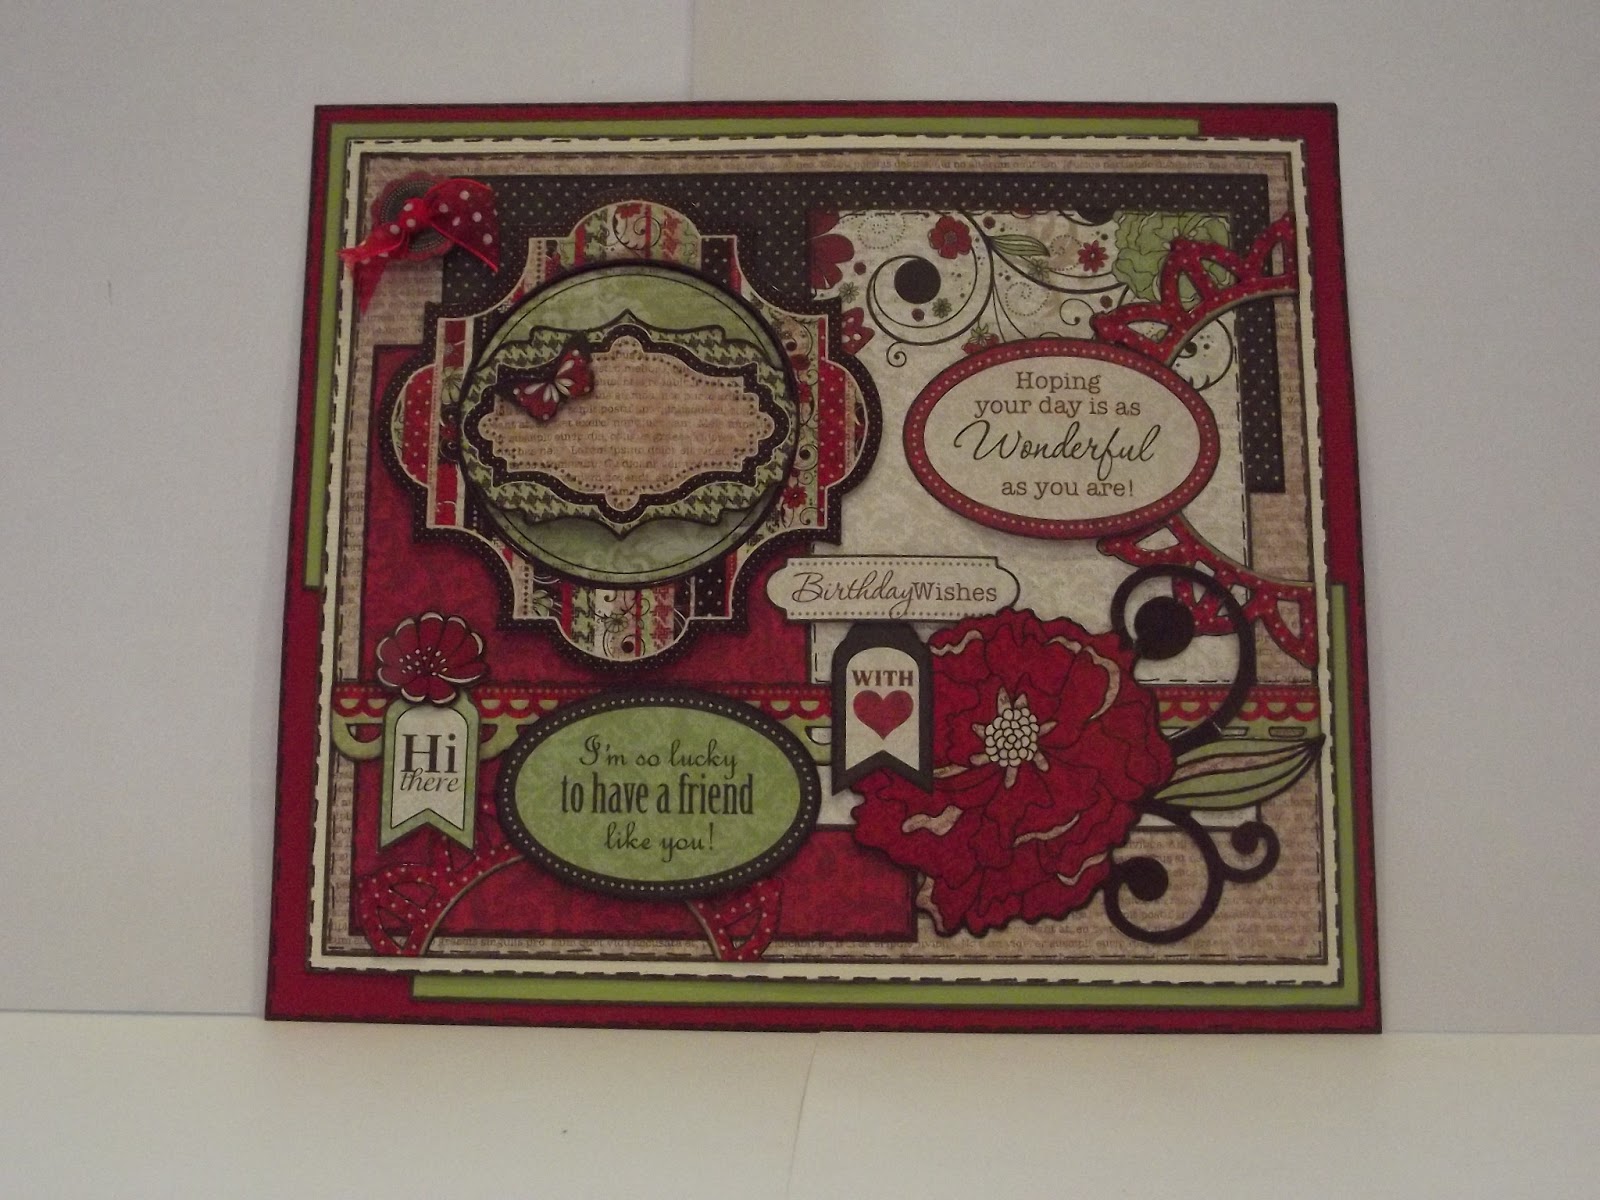
GROOVY TIMES
CRICUT CLASS
Products
needed
Black card
White card
Red card
Silver Mirri card
White lace
White and Black Ribbon
Black and white pens
Pearls
Red Copic Pen
Wet and dry adhesive
Foam pads.
Step by Step
1.
For the two large
flowers .
Place
the black card on your mat. Load mat. Set the size dial to 3”. Turn to page 39
in your book. Press FLOWERS four times and cut. Unload mat.
From
this you will need the four large flowers and two of the smaller flowers.
2.
Put the white
card on to the mat. Load mat. Press shift lock. Press FLOWERS, four times.
Press cut. Unload mat. Remove shift lock. Put the four flowers in a pile with
the four large black flowers.
3.
Put the white
card back in. Press LAYER 1. Press FLOWERS twice and cut. Unload mat. Put these
two white flowers with the small black flowers. Remove Layer 1.
4.
Put the red card
on the mat. Load mat. Press FLOWERS, twice and cut. Press shift lock. Press
LAYER 1 and FLOWERS twice and CUT. Unload mat. Remove shift lock and layers 1.
Put these pieces with your others.
5.
Turn to page 54.
Set the size to 1”.Put the black card on your mat. Load mat. Press CLOCK, six
times. Press cut. Unload mat. Put these pieces with your others. All these
together will make your two large flowers.
6.
Repeat
instructions one to four inclusive but with the size set at 2 ½”.
7.
Repeat number five. Put all these pieces together.
These will make your two medium flowers.
8.
Turn back to page
39. Set the size to 2 ½”. Load red card. Press FLOWERS four times. Press cut.
Unload mat. Remove the flowers from the mat and set aside the large flowers.
9.
Load the mat back
in. Set the size dial to 2”. Press FLOWERS four times and cut. Unload mat. You
will only need the small flowers.
10.
Put the black
card on the mat. Load mat. Set the size to 1 ¼”. Press REAL DIAL SIZE. Press
Shift lock. Press FLOWERS four times and cut. Unload mat. Put these with your
other flowers.
11.
Put white card on
the mat. Load mat. Press repeat last and cut. Put all these with your other
flowers. Remove shift lock. Remove real dial size.
12.
Put the mat back
in. Set the size to 1”. Turn to page 54. Press clock 24 times and cut. Unload
mat.
13.
Put black card on
mat. Load mat. Press clock thirty times and cut. Unload mat.
14.
Put the white
card on the mat. Load mat. Turn to page 40. Press Real Dial Size. Set the size
dial to 5”. Press shift, press layer 2. Press BE HAPPY and cut. Unload mat. Put
the Cricut away.
15.
Make an 8” square
card base. Cut a piece of black card at 7 ½” square. Cut a piece of silver
mirri card at 7 3/8” square. Cut a piece of white at 7 1/8” square. Cut a piece
of red card at 6 ¾” square. Layer all
these up.
16.
Cut a piece of black card at 6 3/8” square.
Choose an embossing folder. I used Constellations Couture creations. Run it
through an embossing machine. You will have to line up the pattern and run
through again.
17.
Using your cricut
or a circle cutter cut the following. White circle at 3 1/8”. A black circle at
2 7/8”. A white frame at 2 5/16” and 2 7/16”.
18.
Stamp your
sentiment on to a piece of white card and mat it on to a piece of red.
19.
Make a bow and
build up the card.
20.
Pat yourself on
the back!!!!!! Good job!!!