JUST WANTED TO WISH EACH AND EVERY ONE OF MY CRAFTY FRIENDS A VERY MERRY CHRISTMAS.
ENJOY YOUR DAY.
BIG HUGS
MELANIE.XXXX

Thursday 25 December 2014
Monday 22 December 2014
TREE UP AT LAST.X
Good morning crafters
At last my tree is up and now it really feels like Christmas.
Thought I would share a picture with you all.
Feel free to share pics of your trees too.
Big Hugs
Melanie xxxxxxx


At last my tree is up and now it really feels like Christmas.
Thought I would share a picture with you all.
Feel free to share pics of your trees too.
Big Hugs
Melanie xxxxxxx
Tuesday 16 December 2014
A requested list
Hello crafters
Today, during my scanncut shows many of you have requested a list of companies that have agreed to you using their products and also what they have agreed is fair for you to do.
Tattered Lace. Dies can be bought, cut out manually and scanned in and saved to the machines memory.
My craft studio. CD's can be bought and templates, decoupage sheets can be scanned in and resized.
Debbie Moore. Products including templates can be bought and scanned in and re sized
Dreamees. Stamps can be purchased and scanned to direct cut but not saved.
Arty Farty templates can be scanned and saved to re- size.
Crafters Companion. Stamps, including licences brands can be bought, stamped and scanned in using direct cut only.
Kanban have agreed that once you have bought and used the toppers they sell you can scan in the waste sheet to gain the correct sizes for mats and layers.
Inky Doodles allow you to purchase their stamps and scan to direct cut.
I will ask more companies as and when I see them and add to this list.
Also the sites that I use for cutting files are birdscards, misskatecuttables and my scrap chick.
If you purchase from these sites you MUST CHECK their usage policy if you wish to sell your finished items.
Happy cutting
Big hugs
Melanie xxx
Sunday 14 December 2014
How to calibrate my Brother Scanncut screen
Hello Crafty friends
Yesterday a lady asked how to calibrate the screen on the Scanncut as it wasn't cutting to the line....so I decided to do a qick post on how to.
First switch your machine on.
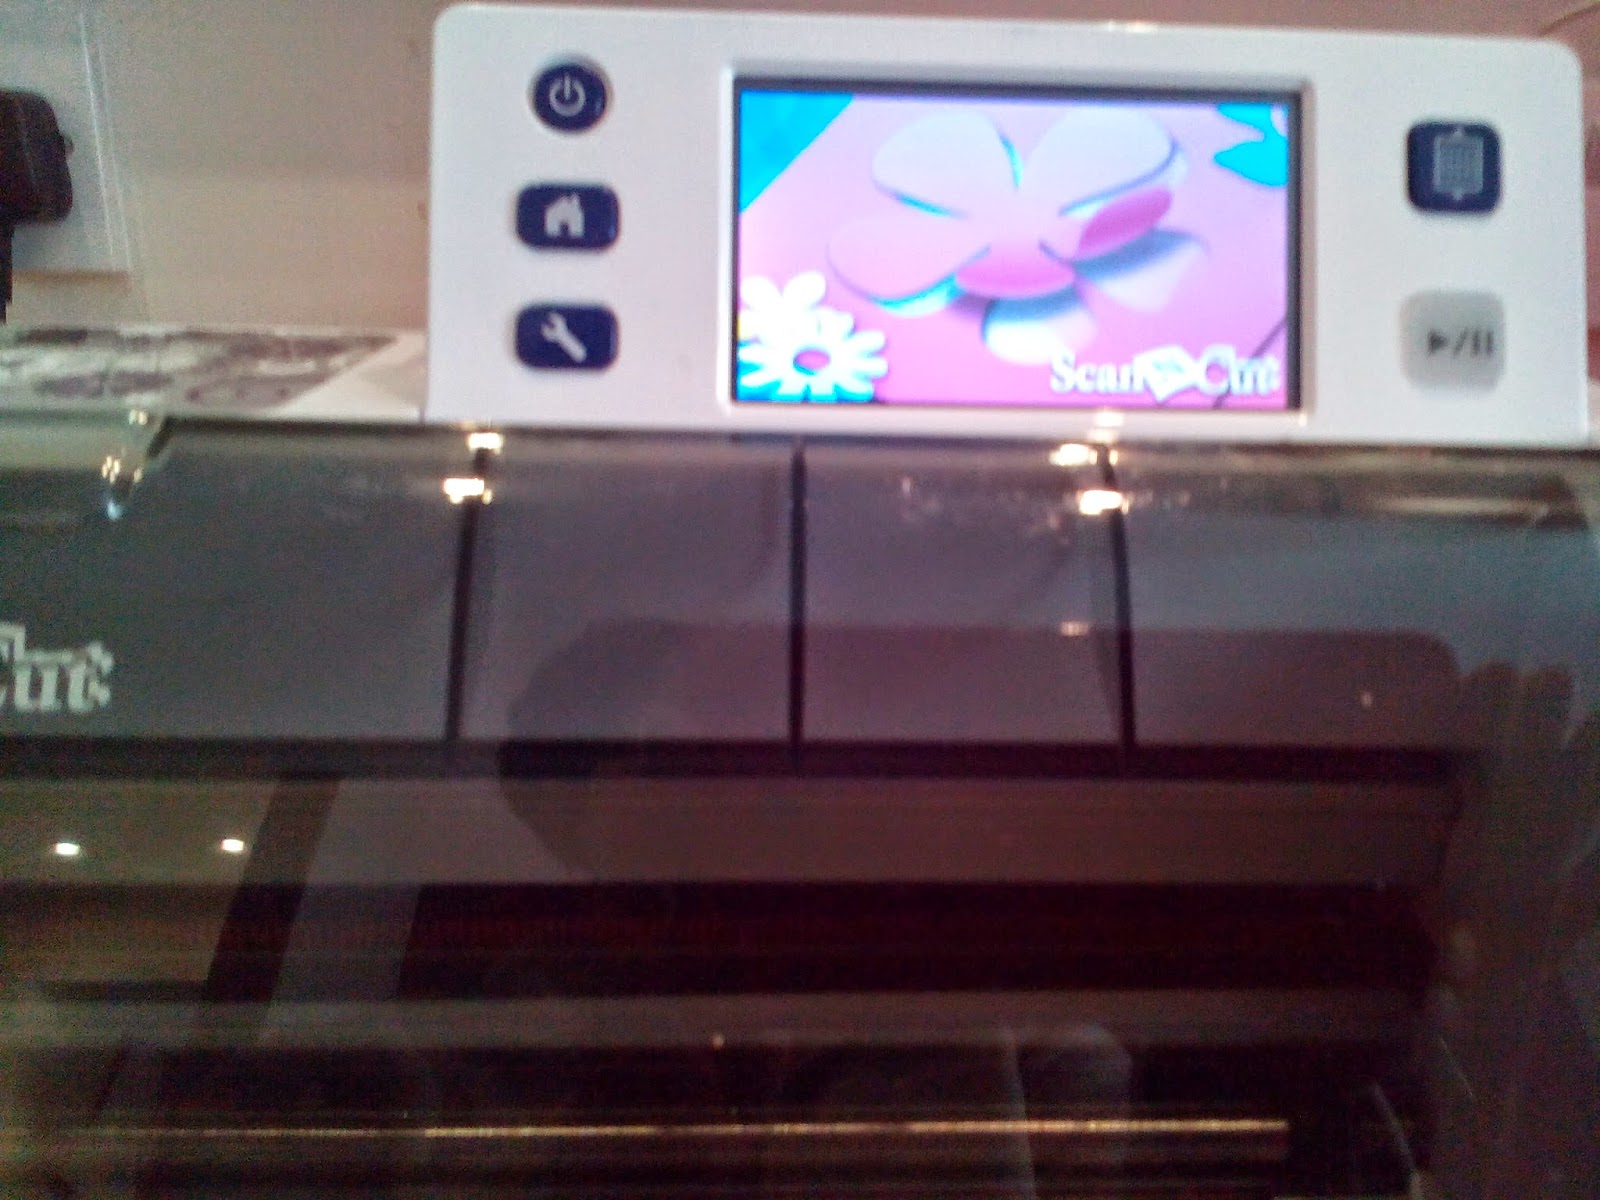

Next, using your stylus tap the centre of each crosses in numerical order.

If you do this correctly then you will see a success message on your screen.

HAPPY CUTTING.XXX
Yesterday a lady asked how to calibrate the screen on the Scanncut as it wasn't cutting to the line....so I decided to do a qick post on how to.
First switch your machine on.
Next, using your finger, touch the screen and turn the machine off whilst still keeping your finger on the screen.
Then switch it back on.
You should now see this screen.
If you do this correctly then you will see a success message on your screen.
Please note that yo may have to do this several times as you need to have the X and Y reading 0.
A bit of a faff but worth it for a perfect cut!!!!!!!
HAPPY CUTTING.XXX
Friday 12 December 2014
scan n cut pick of the week.... Revealed


Wednesday 10 December 2014
Going crackers
As promised here are the instructions for making the cracker.

Noel Christmas Cracker.
Step by Step
1. Take a piece of 12” by 12” white cardstock. Score @ 2 ½”, 5”, 7 ½” and 10” then cut off at 11 ¼”.
2. Turn the card so that the score lines are horizontal and score from the left hand side @1 ½”, 2 ¼” and 3”. Turn the card and repeat this from the other end.
3. Fold all the horizontal lines and crease well.
4. Fold the vertical line as follows….mountain, valley, mountain. Repeat on both ends.
5. Cut a piece of white 12” cardstock in to four 6” squares. Run through an embossing machine with a dotty, or any other design of embossing folder.
6. From these cut 4 x strips 5 5/8” wide by 2 1/8” deep. Then cut 8 x strips of 1 1/8” wide by 2 1/8” deep.
7. Cut 4 strips of silver mirri card 5 ¾” by 2 ¼” and glue the white dotty on to these. Then cut 8 strips of mirri 2 ¼” deep by 1 ¼” wide. Glue the smaller dotty white strips on to these.
8. Punch or die cut 2 silver snowflakes of your choice.
9. Punch or die cut 7 large and one smaller flower from white cardstock.
10. Punch 2 x 2” circles from the remaining white dotty card and 2 x 1 ½” silver circles.
11. Using the scanncut or and alphabet die set cut out NOEL twice. Once from white and once from silver.
12. Cut a 1 ¼” wide strip of silver mirri card and punch both ends with the circle punch.
13. Cut a tag from white card and a slightly larger one from silver mirri.
Once you have completed these steps you will have something which looks like this (each line is a score line.) fold over and decorate to suit your taste. :)


Friday 5 December 2014
It's a Cracker!
Haven't blogged for ages, Now i have somebody to run the blog for me in the shape of my son Matthew, So should now be able to get loads done.
Here's the sneak peek of the Christmas cracker , Step by step instructions will come next week for this i will either be taking photos or making a video to demonstrate it for you all, keep your eyes peeled!

Christmas Swag
Although i am now a massive fan of the Brother Scan 'N' Cut Machine i Still run Cricut retreats Four times every year, Below is our most recent project.
Feel free to follow my step by step instructions below and get your house into the holiday spirits.


Products
required
Anna
Griffin Winter Wonderland cartridge
Theresa
Collins 25th of December cartridge
Dark, Kiwi
and Dotty green card.
Kraft Card
Turquoise
card
Red card
Bright pink
Dot card
Light pink
dot card.
Silver card
Tilda
Christmas play paper pad
Woodware
Metal Hearts
White and
Shabby Blue Frantage.
Red Crinkle
edged ribbon
Red/Cream
Grosgrain Ribbon
Brown
gingham ribbon
Pink ric
rac Ribbon.
Hemp
White Rope
Step by
Steps
•
Do a test cut for your pressure and blade depth and insert the Anna
Griffin cartridge and the Universal overlay.
•
Place the dark green card on your mat, texture side up. Load mat. Turn
to page 35 in the book. Set the dial size to 5 1/2”. Press 18, four times. IF YOU ARE USING A
SMALL CRICUT YOU WILL PRESS TWO AND CUT THEM AND THEN CUT TWO MORE ON THE OTHER
PIECE OF CARD. Press cut. Unload mat.
If you have a flip facility on your machine then activate it. Load
another piece of dark green card on to the mat. Load mat, press repeat last and
cut. Unload mat.
If you DON’T HAVE a FLIP facility the place your card on the mat
texture side down. Press repeat last and cut.
All together you should have 4 green holly sprigs going one way and four
going the other way….
•
Repeat the number 2 instruction using the green dotty card.
•
Next you need the KIWI Green card on your mat. For those of you with
smaller cricuts you need to trim the card down to 6” wide. Put the card on the
mat aligning it to the bottom left hand corner of the mat. Load the mat. Using
the directional arrow buttons around the cut button move the blade to the top
right hand corner of the card and press set cut area.
You need 8 number
18’s. These wont all fit on one sheet so use as many as you need. Because the
Kiwi card is smooth on both sides you don’t need to use the flip facility ;)
•
Put the red card on your mat. Leaving the size dial as it is, Press
F1. Press 18, 16 times. Unload mat.
•
Put the bright pink dotty card on the mat, press 18, four times and
cut. Either use the flip function or turn the card over and repeat last. Cut.
Unload mat.
The red berries go with
the dark green and the dotty green holly sprigs and the pink ones with the
plain kiwi card. Remove F1.
•
Put the Kraft card on the mat. Load mat. Turn to page 23. Set the dial
size to 3 ½”. Press 12, four times and cut. Depending on your machine you may
have to do this more than once to get four.
•
Change the dial size to 2 ½”. Press 12 four times and cut. So you
should now have 4 large and 4 small number 12’s. Cut them in half.
•
Still using Kraft card, turn to page 7. Set the dial size to 4”. Press
shift lock, F1 and 4, three times. Press cut. Unload mat. Change for more Kraft
card if necessary. Load mat. Turn to page 11. Set the dial size to 3”. Make
sure shift lock and F1 are still engaged. Press 6, three times. Cut. Unload
mat. Remove F1
•
Put the turquoise card on the mat. Load mat. Turn to page 7. Press 4,
three times and cut. Unload mat.
•
Put the Kiwi card on the mat. Load mat. Press shift lock and 4, three
times. Cut. Unload mat. Remove shift lock.
•
Put the red card on the mat. Set the size dial to 3”. Turn to page 11.
Press 6, three times and cut. Unload mat.
Put the bright pink
dotty card on the mat. Load mat. Press F1 and 6, three times and cut. Unload
mat.
•
Turn to page 15. Put the Kiwi card on the mat. Set the dial size to
4”. Press 8, three times. Cut. Put the pale pink dot card on the mat. Load mat.
Press shift lock and 8, three times. Unload mat. Remove shift lock.
•
Change the cartridge to the 25th of December. Put the
turquoise card on the mat. Load mat. Set the dial size to 2”. Turn to the back
page of the shape leaflet and press Snwflk3, eight times. Cut. Unload mat.
•
Change the size dial to 1 ½”. Put the silver card on the mat. Load
mat. Tur to the inside of the leaflet and find snowflake layer. The button
for this is the last one on the second
row. Press this ten times and cut.
•
Unload mat. If you own all mixed up the cut CHRISTMAS from one of the
Tilda papers 1” in size. Then put the shadow feature on and repeat last from
Kraft card.
•
Everything else for the project is either cut by the scan ’n’ cut or
punches or by hand so you can now put your Cricuts away…….now the real work
begins;)
You Will Need 21, 6 petal flowers from a red paper. 12 from a cream paper.


Subscribe to:
Posts (Atom)